Your Guide To Double Stamping - A DIY Nail Art Game Changer
When your life is feeling lackluster, a bright and bubbly manicure can turn it all around. DIY nail art gives you a chance to explore your creative potential while experimenting with new tricks and techniques.
At a Glance
- Gather the Tools and Materials You Need
- Prep Your Tools
- Paint Your Nails a Base Color
- Pick Your Designs
- Layer and Stamp Your Designs
- Clean Up Your Nail Plate and Repeat
- Seal Your Creations with a Top Coat
Double stamping is a real game changer in the world of DIY nail art. 💅 This innovative method makes it super easy to create multi-layered designs, making your at-home mani just that much more convenient!
Keep reading, and we'll tell you exactly how you can master the art of double process stamping.
See Related: 11 Gorgeous Pastel Nail Designs For Spring 2024
What is Double Nail Stamping?
If you haven't ever tried nail stamping, this is your sign to give it a go. With these cutting-edge nail art tools, you won't need to ever worry about freehanding French tips again. Not only will your DIY nail art session be smooth sailing, but your end result will be perfect!
Traditional nail stamping methods allow you to stamp designs onto your nails one at a time. But if you want multi-layered nail art, this simplistic approach isn't the most efficient.
Recently, we fell head-over-heels in love with double nail stamping, an ingenious way to layer two nail designs in one go. Check out this YouTube live video to see it in action! 🎥
- Moo-velous (M391) - Nail Stamping Plate
- French Cloudscape (M403) - Nail Stamping Plate
- Mythos Collection: Annato Clay (B196) Dirt Brown Stamping Polish
- Coconut (B268) - Creamy Custard Stamping Polish
- Cut n Polished (M277) - Nail Stamping Plate
- Chic Peek: Heart of Stone (BM-XL476) - Nail Stamping Plate
- Turquoise (B324) - Green Stamping Polish
- Essentials Primary Collection: Straight-Up Black (B171) Classic Black Stamping Polish
- + more!
Keep reading, and we'll give you a step-by-step guide to double stamping. Let's go!

#1. Gather the Tools and Materials You Need
You'll need a few things to get started.
- Nail stamping plate
- Stamper
- Scraper card
- Stamping nail polish
- Top coat nail polish
You can also snag one of our nail stamping starter bundles like the "Porcelain: Chinese Ceramic" kit. This beautiful set comes with our M252 nail stamping plate, a rectangular cube stamper, a mini scraper card, royal dark blue stamping polish, and 5 mL of our best-selling Smudge-Free Top Coat.
You'll need a few extra nail art essentials on hand, as well.
- 100% acetone
- Cotton balls or cotton pads
- Nail art brushes (optional)
- Scotch tape
#2. Prep Your Tools
Each brand-new nail stamp plate from Maniology comes with a blue protective film that must be peeled off before use. Clean your stamper head with warm water and mild dish soap and dry with a paper towel.
If any debris or fuzzies are stuck on your stamper head, use your Scotch tape to remove it. You should be left with a crystal clear surface.
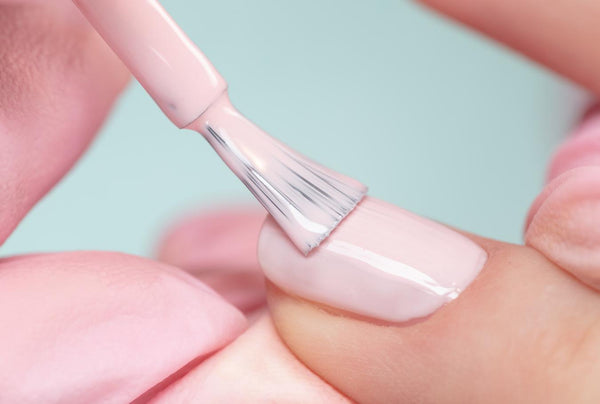
#3. Paint Your Nails a Base Color
Start your artistic venture by painting your nails with a colored polish or a clear base coat. Wait for your nails to dry completely before moving on to the next step.
Bonus: 7 Self-Care Basket Ideas
#4. Pick Your Designs
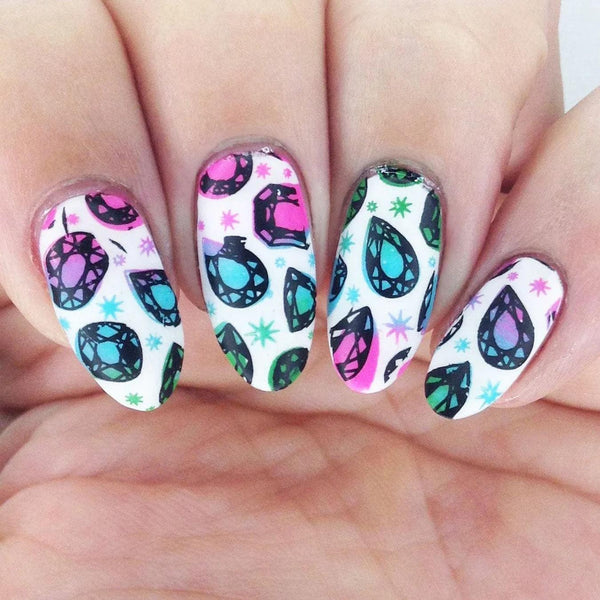
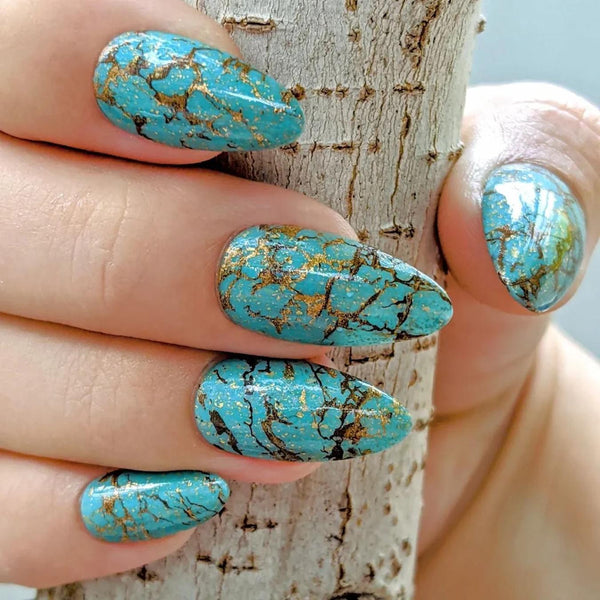
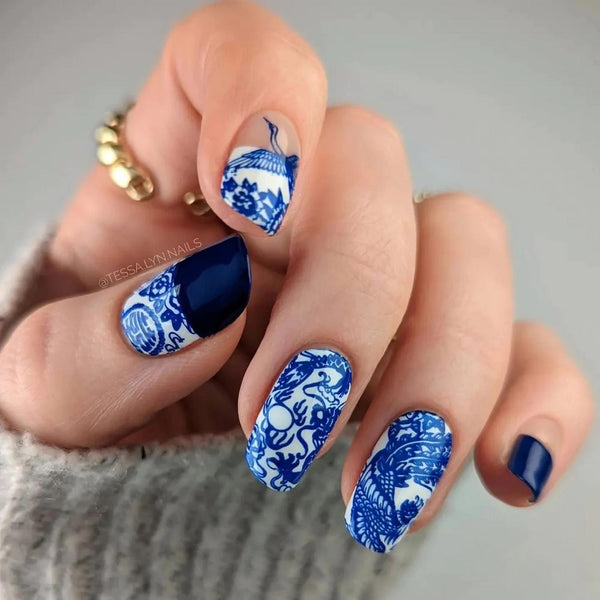
Double process stamping, or double stamping, is all about layering designs. For this technique, you'll need to layer the print you want over a solid-edge design with no pattern.
Your solid-edge design with no pattern will be your bottom design. Your print design will be your top design. Remember this for later!
Our French tip nail stamping plates are ideal for solid-edge designs because they are simple and go with anything. For a dreamy and dainty design, use our "French Cloudscape" nail stamp plate.
#5. Layer and Stamp Your Designs
Double-process stamping is a high-impact technique that requires little effort. You just need to move quickly! For this step, aim to do it all in 10 seconds or less.
You need to imagine your desired design in your head before you start stamping. Otherwise, you might get your layers backward. This step is by far the most complicated, so follow this step-by-step for an easy how-to.
- Locate your top design on your nail stamp plate. Paint a thin layer of stamping polish over it.
- Scrape away the excess nail polish at a 45-degree angle with your scraper card.
- Moving quickly, grab your silicone nail stamper. Firmly press it over your top design in a steady, rolling motion. This will "pick up" the design onto the stamper.
- Locate your bottom design on your other nail stamping plate. Paint a thin layer of stamping polish over it and scrape away the excess polish at a 45-degree angle.
- Using the same silicone nail stamper, pick up your bottom design so it overlaps the top design. When looking at the face of your silicone nail stamper, your bottom design should be on top of your top design.
- If your silicone stamper has extra flecks of polish, use the flat side of your scraper card to remove them.
- Look through the back of the stamp holder to line up your design to your nail. Gently but firmly push the stamper onto your nail to transfer the design. Make sure each corner adheres to your nail before you lift your stamper.
Check out this 1-Minute Maniology video for a quick tutorial on a cool, cow-print French tip design!
#6. Clean Up Your Nail Plate and Repeat
Before reusing your nail stamp plates for your other fingers, carefully clean the surface with a cotton pad and 100% acetone. Repeat steps three through five for each nail.
#7. Seal Your Creations with a Top Coat
With your nails decorated with gorgeous designs, you need to lock it all in with a top coat. This will protect your nail art and prevent chipping. Don't forget to cap the edge of your nail.
Use our Smudge-Free Top Coat for added longevity and shine.
Now, you're left with stunning nails and dazzling designs. 💅 Feel free to experiment with other tricks and techniques, using your nail art to express yourself.
Keep Reading: What Is A Manicure & How To DIY Your Own
--
At Maniology, we believe your nails are opportunities for adventure, fun, and unrestrained artistic expression. Our nail stamping plates and nail accessories are here to help foster your self-expression in the hopes of building a community of individuality. For more nail tutorials, subscription box updates, and designs, follow us on Facebook, Instagram, Pinterest, TikTok, LinkedIn, and YouTube.
%meta%